Open topic with navigation
Using the Home Screen
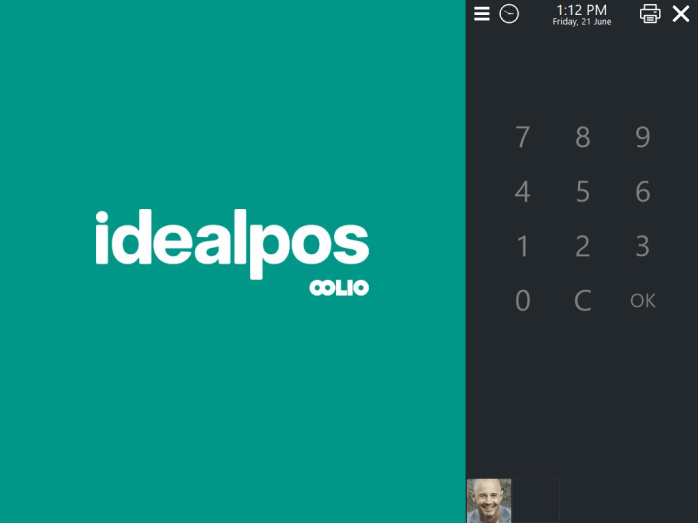
Using the Home Screen is straight forward and simple.
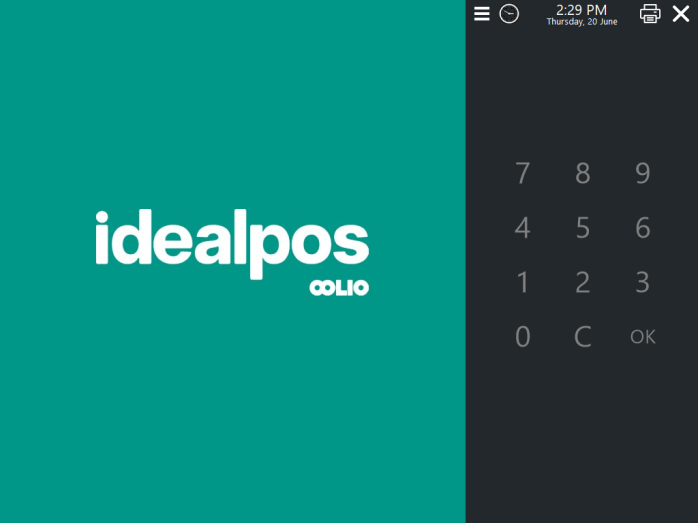
Regardless of the options you've configured for the Home Screen, it will always display the on-screen numeric keypad so that Clerks can login to the POS terminal.
Additional functions that may appear on your Home Screen include:
 Blackboard
This will display notes/specials of the day, etc. on the left-hand side of the Home Screen. The notes displayed and the formatting of the notes can be customised by pressing the Blackboard button from the POS Screen. If a Blackboard button does not exist, it can be created by closing the POS Screen and going to: Setup > POS Screen > POS Screen Setup > Select a POS Screen Layout > Buttons > Click on a blank button, then select the Blackboard function from the list. Save the button and close the POS Screen Layout windows to save changes.
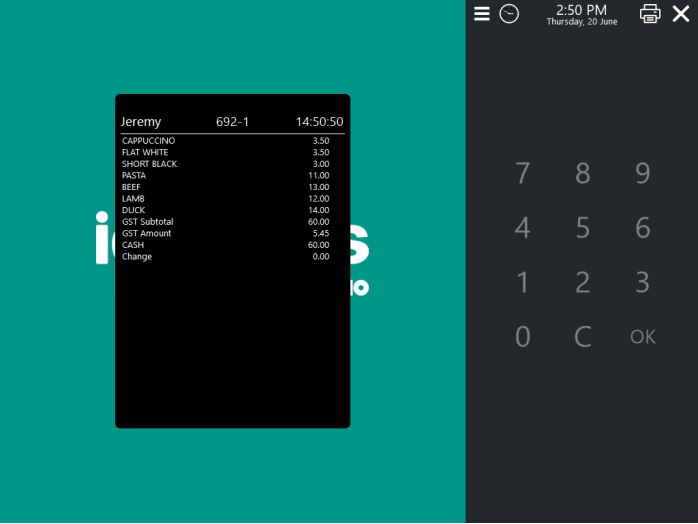
 Last Transaction
This will show the last transaction on the left-hand side of the Home Screen. Note that the Home Screen will only display the Last Transaction if Idealpos is configured to return to the Home Screen after each transaction and the "Show Last Transaction" Yes/No Option is enabled. Also note that the Last Transaction Timeout (configured in Global Options > Other Options) should be configured with a sufficient timeout value to enable the Last Transaction to appear on the Home Screen as required.
 Fast Clerk Buttons
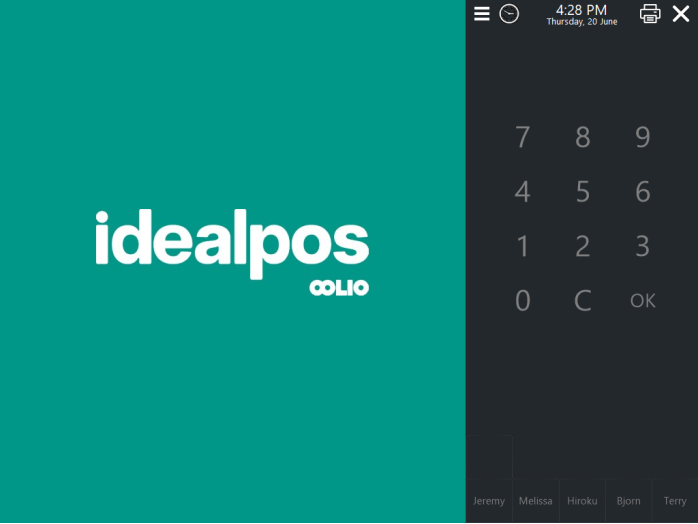
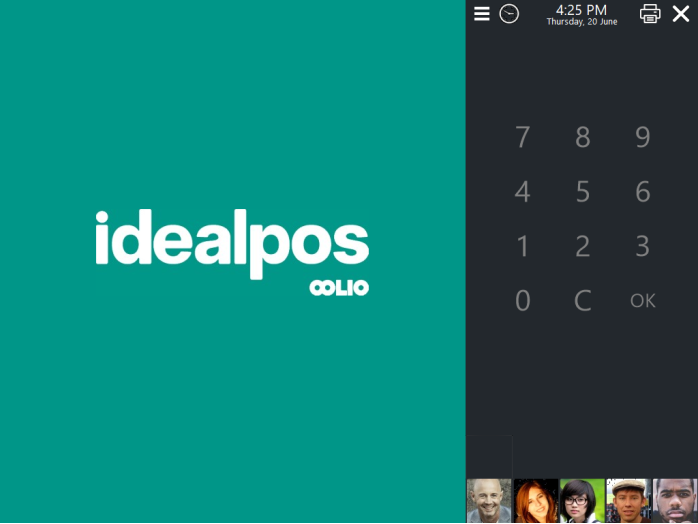
Each Fast Clerk button will either display the Clerk's image or the Clerk's name on the bottom-right corner of the Home Screen. The Fast Clerk Buttons can be pressed by the Clerk to quickly login to the POS screen. Note that anyone can easily press the Clerk's image to login as the Clerk if the Clerk is not password protected. To enable a password on a Clerk, you will need to go to: Back Office > Setup > Clerks > Select the Clerk > Modify > Enable "Use Employee Log" and enter a Password for the clerk. They'll need to enter the Password when they login. It should also be noted that once a Clerk has logged on, a Password will not be required for the Clerk until they've logged off.
 Employee Log button
The Employee Log button will appear as a clock icon at the top of the Home Screen. Clerks can press the Employee Log button to log their shift without logging into the POS Screen.
 Receipt Button
This button will appear as a printer icon on the top-right corner of the Home Screen and will print a receipt for the last transaction.
 Exit Button
This button will appear as an "X" on the top-right corner of the Home Screen and when pressed, will close the Home Screen. To prevent unauthorised closing of the Home Screen, a Clerk will need to enter their Clerk ID, then press the Exit Button. Pressing the Exit Button without entering a Clerk ID will result in the Home Screen staying open.
To skip to a specific section in this topic, click on one of the following links:
Logging In via Numeric Keypad and Last Transaction
To login to the POS terminal from the Home Screen, enter the Clerk ID, then press OK.
The Home Screen also displays the last transaction which will appear on the left-hand side (as per the Last Transaction Timeout setting configured in Back Office > Setup > Global Options > Other Options).
The Last Transaction can be cleared from the screen by either waiting for the Last Transaction Timeout to lapse, or the Last Transaction can be clicked on and it will disappear.
Logging In via Fast Clerk Buttons
If Fast Clerks are enabled, the Fast Clerk buttons will appear below the numeric keypad on the bottom-right corner of the Home Screen.
To login, press one of the Fast Clerks buttons shown on the bottom-right corner of the Home Screen.
When using the Demo Database, it will be pre-configured to show 5 Fast Clerk buttons.
Fast Clerk buttons are populated from the bottom-left to the bottom-right of the screen row by row, with a maximum of 4 rows of 5 clerks, enabling a maximum of 20 Fast Clerk buttons to be configured on the Home Screen.
The Fast Clerk buttons will show the Fast Clerk Images if the Fast Clerk images have been configured (refer to Fast Clerk Buttons in the Yes/No Options > Home Screen topic for further information about configuring Fast Clerk Images).
The POS Screen will then be logged on as the entered Clerk.
Logging In with Employee Log
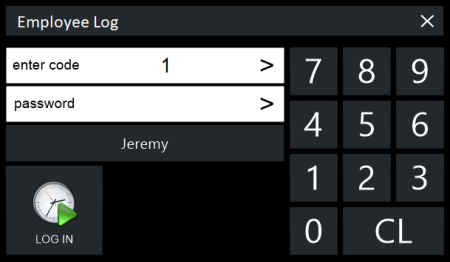
If the Employee Log function has been enabled for a Clerk and they have a Password, they will be presented with a screen similar to the following where they will need to enter their Password, then press the "LOG IN" button to continue:
Once logged in, the POS Terminal is now ready for processing sales.
Displaying the Home Screen
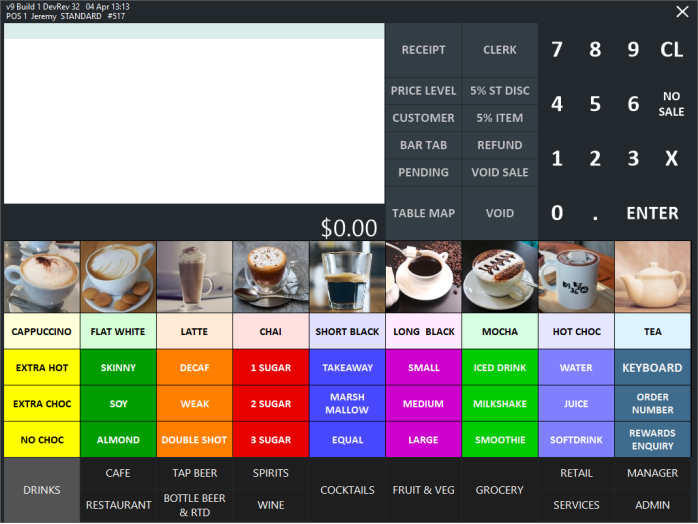
If you want to return to the Home Screen, the Home Screen button can be pressed at any time.
If the Yes/No Option "Return to Home Screen after Each Sale" is enabled, the Home Screen will appear after every sale.
Note!
If a clerk with Employee Log and a Password presses the Home Screen button, the Clerk will not be logged off and when they either enter their Clerk ID or press their Fast Clerk button, they will not be prompted for their Password.
To prevent unauthorised access, any clerks that use the Employee Log function and have a Password should ensure they either "Log Out" or "Start Break" to prevent other staff or users from gaining access to the POS terminal.
Employee Log - Logging Out/Starting Break
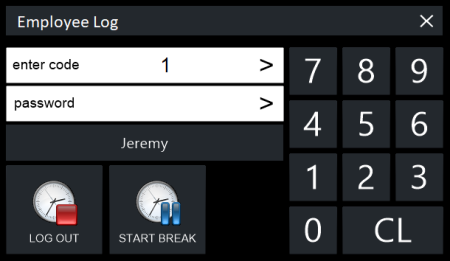
To "Log Out" or "Start Break", the Clerk can press the "Employee Log" button on the POS screen, then enter their Clerk Code and their Password, then press either the "LOG OUT" or "START BREAK" button.
After the Clerk Logs Out or Starts Break, the Home Screen will be displayed (if the Yes/No Option "Return to Home Screen after Each Sale" is enabled).
Fast Clerks - Adding/Removing Fast Clerk Buttons from the Home Screen
Fast Clerk buttons can be easily added and removed from the Home Screen.
To use Fast Clerk buttons, the Yes/No Option "Fast Clerk Buttons" must be enabled.
The Fast Clerk buttons will show the Fast Clerk Images if the Fast Clerk images have been configured (refer to Fast Clerk Buttons in the Yes/No Options > Home Screen topic for further information about configuring Fast Clerk Images).
The Home Screen supports a maximum number of 20 Fast Clerk buttons which appear on the bottom-right corner of the Home Screen, just below the numeric keypad.
Fast Clerk buttons are populated from the bottom-left corner to the bottom right, starting from the very bottom of the Home Screen.
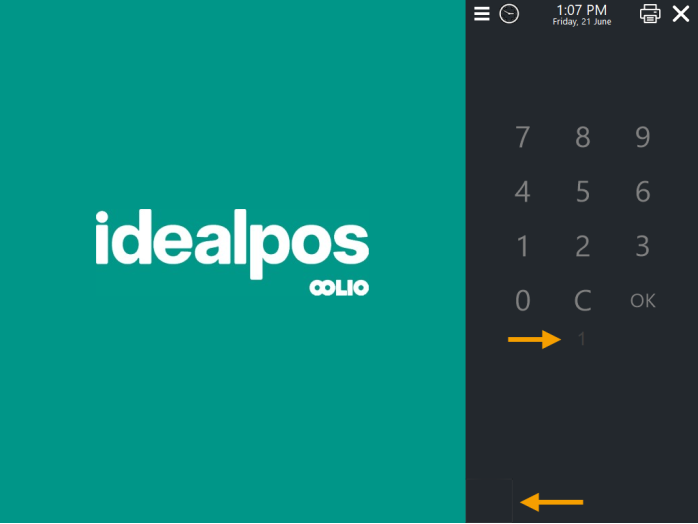
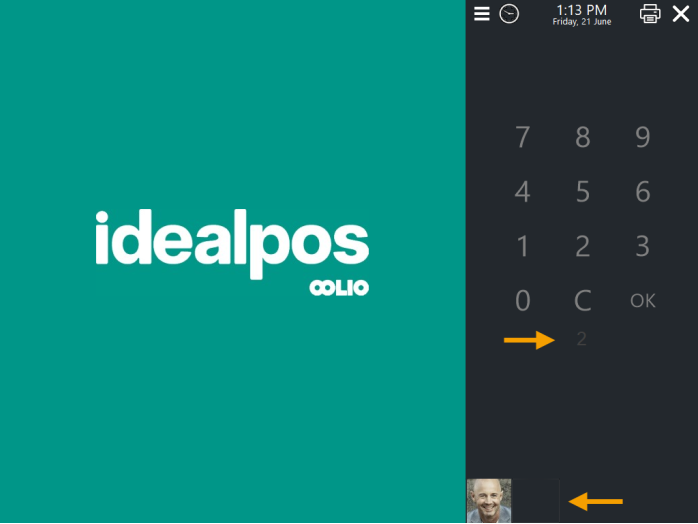
To add a Fast Clerk button, enter the Clerk Code, then press the next available slot.
If there are no Fast Clerk buttons currently configured, enter the Clerk Code, then press on the first Fast Clerk button slot as shown below.
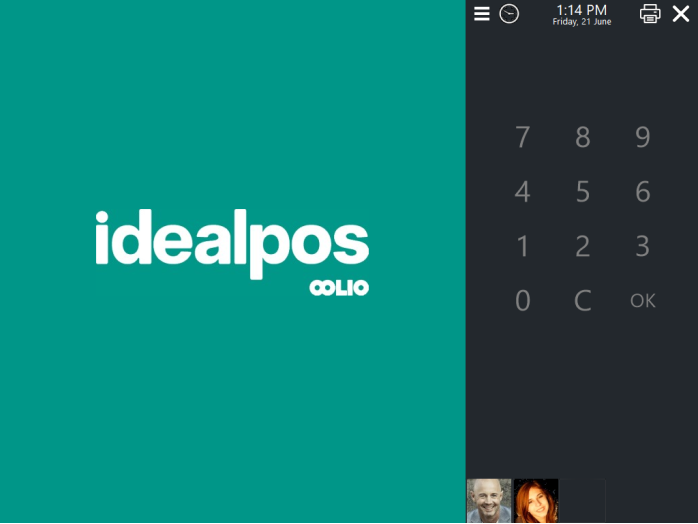
The Clerk Name or Clerk Image will appear in the first Fast Clerk button slot.
Repeat the process as required to add additional Fast Clerks to the Home Screen.
Enter the Clerk Code for the next Fast Clerk slot, then select the next available slot (working from left to right).
The next slot is then populated with a Fast Clerk button for the entered Clerk Code.
Once one row has been populated with Fast Clerk buttons, start on the bottom-left corner of the next available row to assign the next Fast Clerk button.
Enter the Clerk Code and press on the next available slot that appears on the next available row, as shown in the example below.
Repeat the same process outlined above to populate each row with Fast Clerk buttons.
A maximum of four rows of five Fast Clerk buttons can be configured, enabling a maximum of twenty Fast Clerk buttons as shown in the below example.
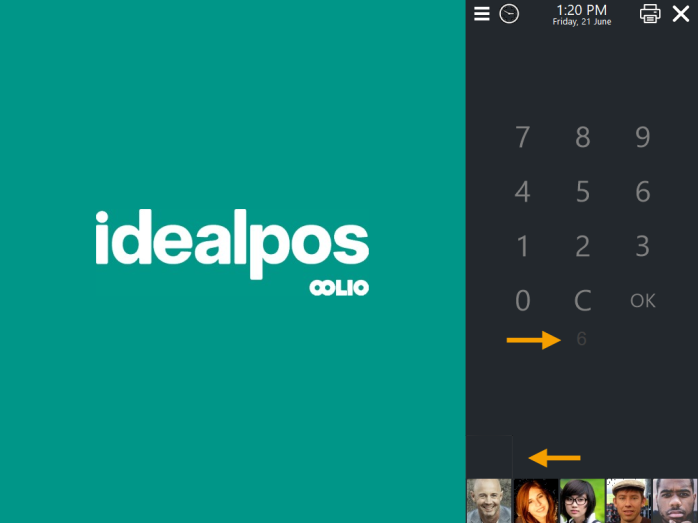
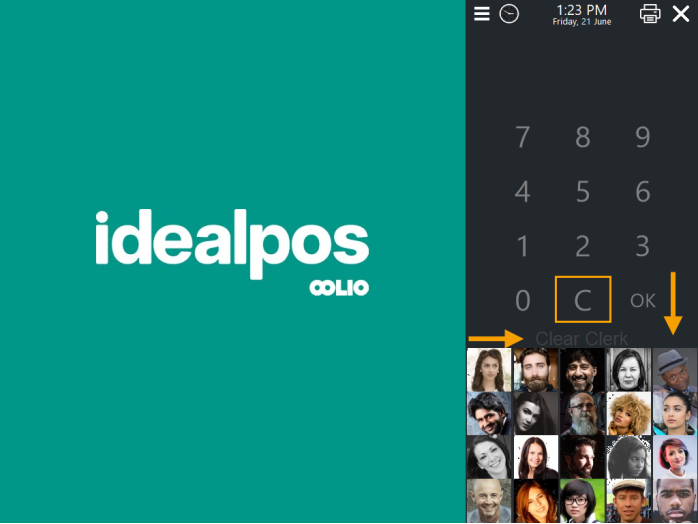
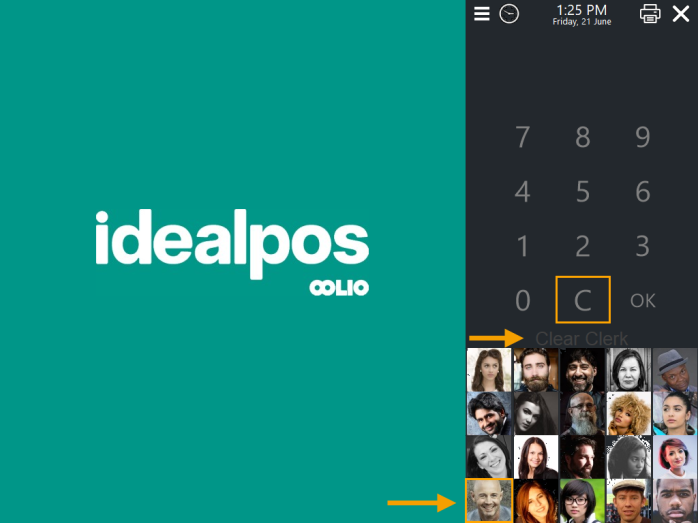
To remove a Fast Clerk button from the Home Screen, press the "C" button, which will display "Clear Clerk" just below the Numeric Keypad.
Then press a Fast Clerk button that is no longer required.
The Fast Clerk button will be removed from the Home Screen, which will free up the slot so that it can be assigned to another Clerk.
If removing a Fast Clerk button that's surrounded by other Fast Clerk buttons, those Fast Clerk buttons will move across to occupy the position of the deleted Fast Clerk button.
There will be no empty gaps or slots between Fast Clerk buttons as the Fast Clerk buttons will automatically move or shift across so there are no empty spaces.
E.g. Deleting the first Fast Clerk button will shift all other Fast Clerk buttons across to occupy the slot of the deleted Fast Clerk.
Adult ID
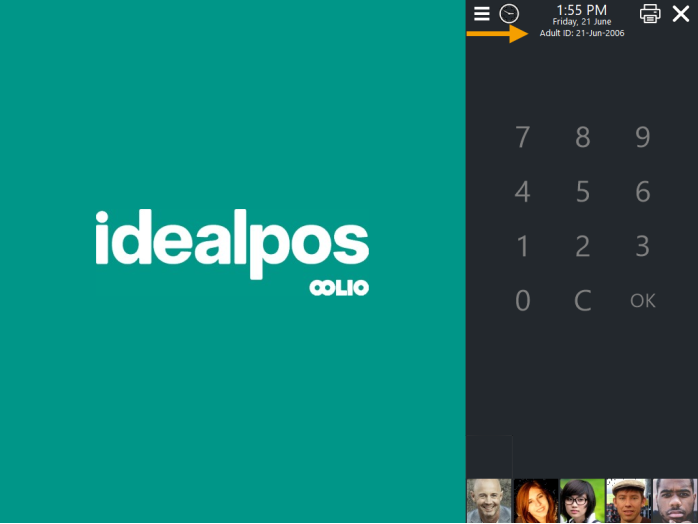
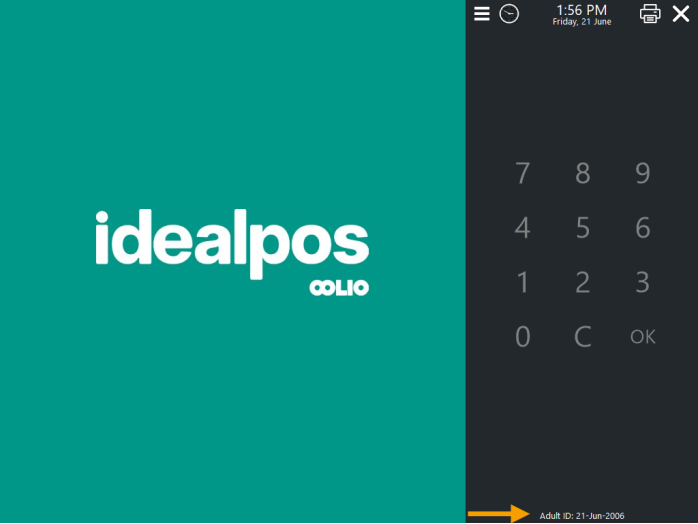
If the Yes/No Option "Show Adult ID Date" is enabled, the Adult ID will be displayed on the Home Screen.
The location of where the Adult ID will appear will depend on whether the Yes/No Option "Fast Clerk Buttons" is enabled or not.
If the "Fast Clerk Buttons" Yes/No Option is enabled, the Adult ID will be displayed at the top of the Home Screen.
If the "Fast Clerk Buttons" Yes/No Option is disabled, the Adult ID will be displayed at the bottom of the Home Screen.
Open topic with navigation
